As an Amazon Associate, we earn from qualifying purchases. Some links may be affiliate links at no extra cost to you. Although our opinions are based on curated research, we haven't used these products. Articles generated with AI.
How Do I Position My Webcam For The Best Angle?
To position your webcam for the best angle, I recommend setting it at eye level, which simulates natural eye contact. Make sure it’s about an arm’s length away for clarity. Use soft, evenly distributed lighting to enhance video quality, positioning it at a 45-degree angle. Consider the field of view to focus on faces or capture group settings. Finally, create a tidy, neutral background for professionalism. There’s much more to explore for optimizing your setup.
Key Takeaways
- Position the webcam at eye level to simulate natural eye contact and enhance engagement during video calls.
- Maintain a distance of about an arm’s length for clear framing and optimal visibility of your face.
- Adjust the camera angle slightly downward for a flattering perspective while avoiding extreme low or high placements.
- Consider the field of view; use a wider angle for group settings and a narrower angle for one-on-one calls to focus on expressions.
- Ensure proper lighting by positioning a key light at a 45-degree angle to reduce shadows and improve overall video quality.
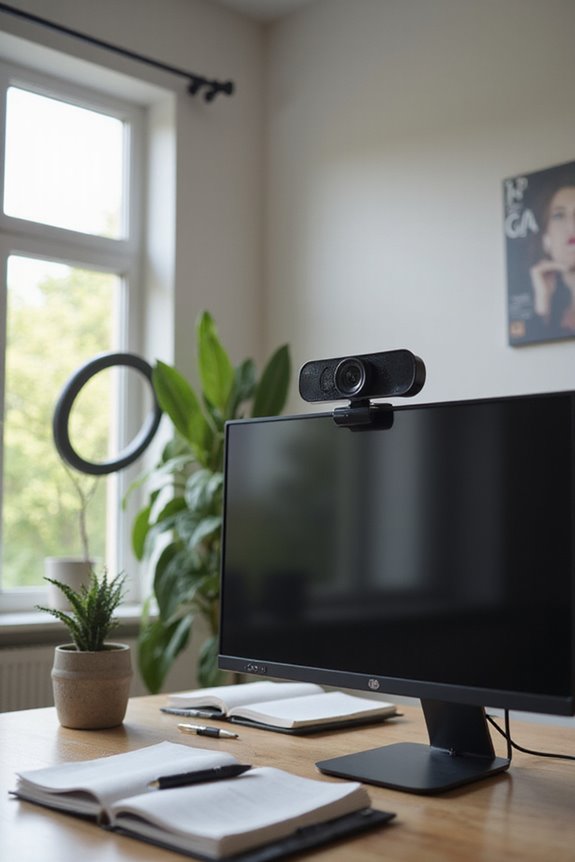
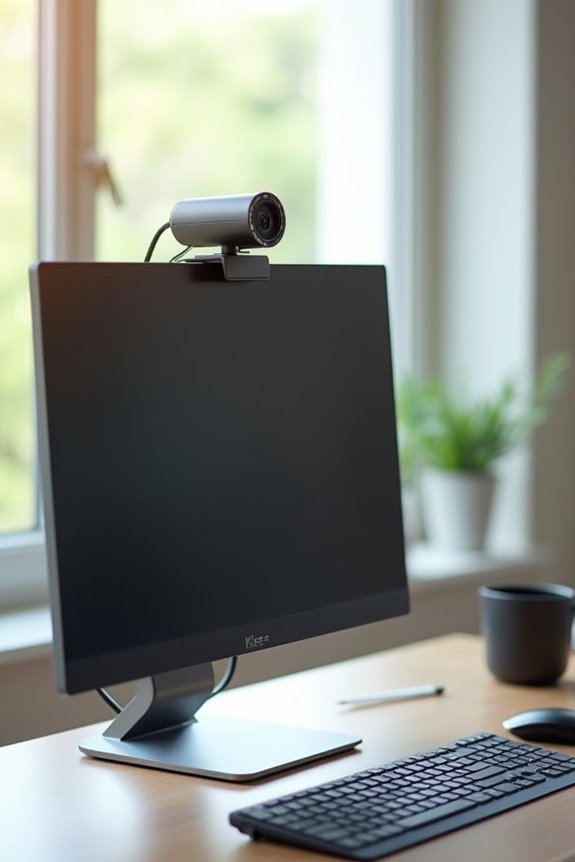
Eye-Level Positioning for Natural Angles
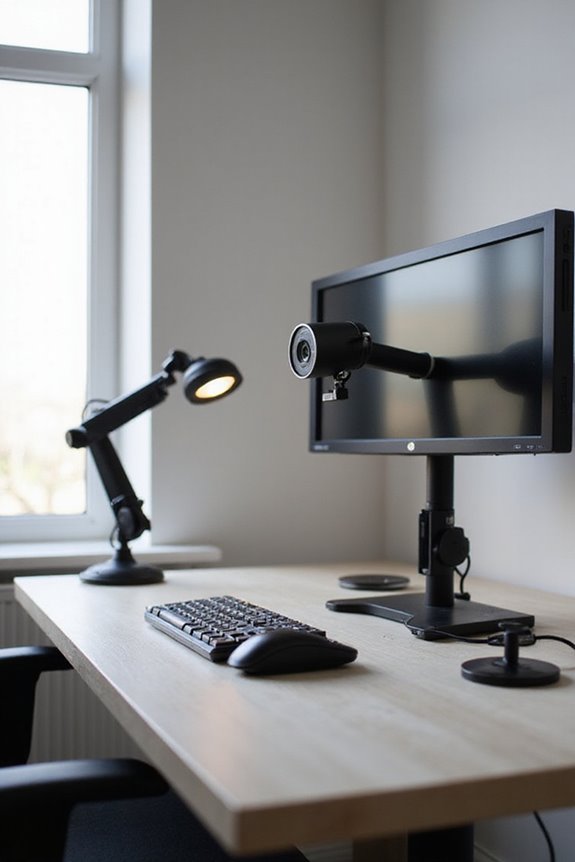
Achieving the right webcam angle is essential for creating a professional and engaging video presence. Eye-level positioning is key to simulating natural eye contact, which fosters viewer engagement. When I align my webcam at eye level, I notice a significant improvement in how my audience connects with me.
To achieve this, I often use a tripod or stack books to elevate my webcam to the correct height. I make angle adjustments by tilting the camera slightly downward, ensuring a flattering perspective without distortion. It’s vital to avoid common mistakes, like positioning the webcam too low or high, which can distract viewers. By following these techniques, I create a more inviting atmosphere that encourages my audience to focus on my message. Additionally, maintaining audio clarity and performance can enhance the overall quality of your presentations, making your content even more engaging.
Recommended Products

[All in one] - Elevate your video conferencing with KanDao Meeting Ultra, the all-in-one conference room solution featuring dual 4K HDR 360° cameras, a 15.6" FHD touchscreen, built-in microphones, and 10W Hi-Fi speakers
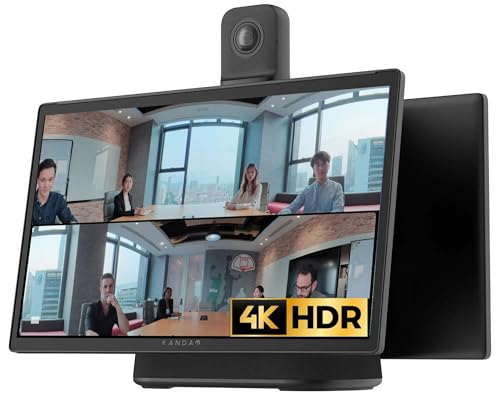
[All in one] - Elevate your video conferencing with KanDao Meeting Ultra, the all-in-one conference room solution featuring dual 4K HDR 360° cameras, a 15.6" FHD touchscreen, built-in microphones, and Hi-Fi speakers
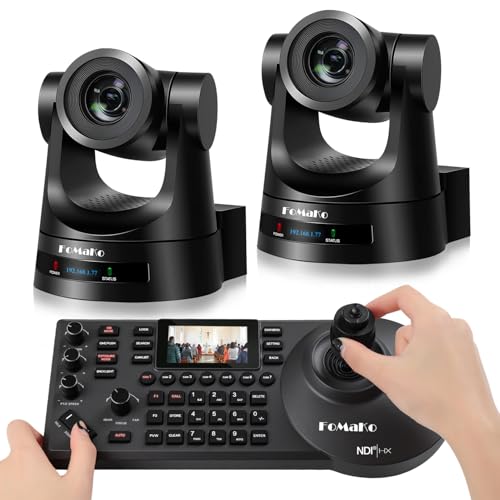
【 FoMaKo PTZ Camera Bundle with 30x Optical Zoom 】. 2pcs FMK30SDI + 1pc KC608. FoMaKo HDMI PTZ Camera 30X PoE camera AI Auto Tracking with LCD Screen. Simultaneous 3G-SDI IP USB HDMI PTZ Camera, IP Live Streaming Camera with HDMI, PoE Supports, Suitable for Church live service, House of worship, Education, Teaching Broadcast, Conference, Esports, Events etc.*Note: NDI Upgradeable, We can help to upgrade it to an NDI camera if required.
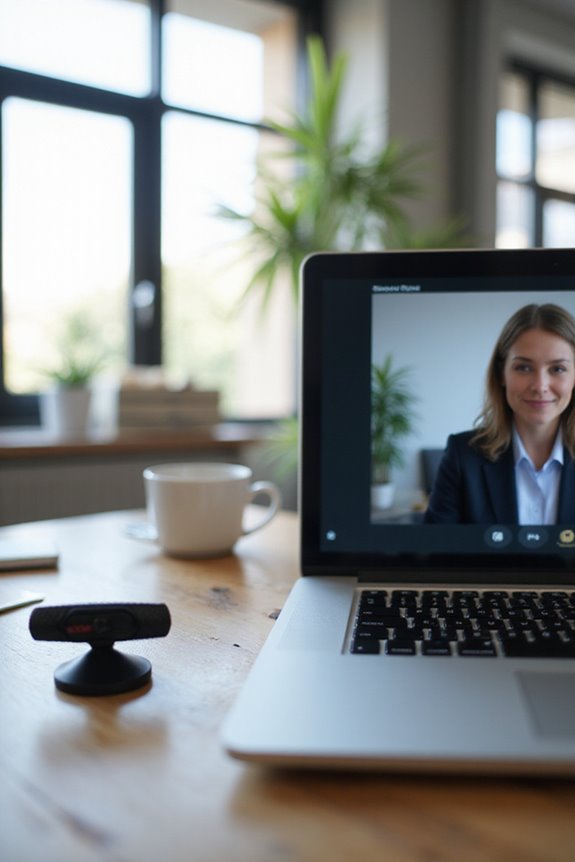
Ensuring Proper Distance for Clear Framing
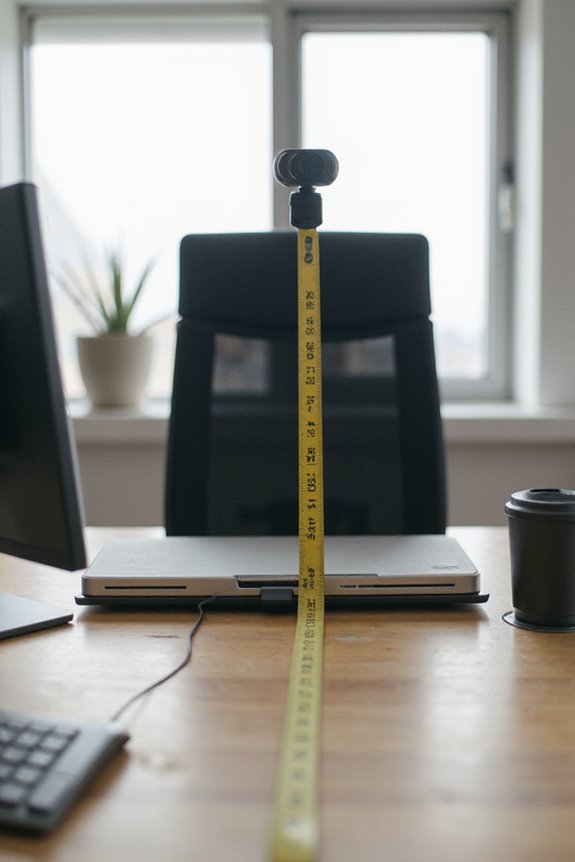
How far should your webcam be positioned for the best video quality? For ideal framing, I recommend keeping your webcam about an arm’s length away. This distance management helps guarantee I capture myself clearly without distortion. In smaller rooms, aim for 4-6 feet, while larger rooms require 8-12 feet to maintain a balanced view. It is vital to use effective framing techniques to avoid unflattering angles. Additionally, consider your camera’s position in relation to light sources to prevent glare. Finally, testing your setup is important; this way, I can confirm that the framing remains consistent, providing a professional appearance during video calls. Always adjust as needed for different activities to achieve the best results.
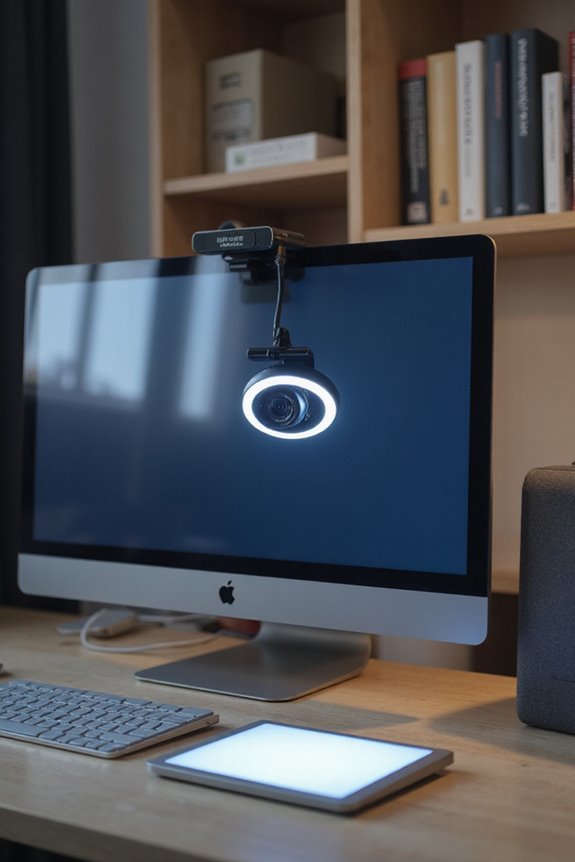
Understanding Field of View for Optimal Coverage
When setting up your webcam, it’s crucial to take into account the field of view (FOV) to guarantee you’re capturing the desired coverage in your frame. The FOV can greatly affect how well your video conveys the intended message, depending on the coverage types needed. For group meetings, a wider FOV of around 120° is ideal to include multiple participants. Conversely, for one-on-one calls, a narrower angle of 75°-90° focuses more on facial expressions. Remember that both horizontal and vertical field angles matter, especially when capturing scenes above or below the camera. Adjusting your webcam’s mounting position can help optimize these angles, ensuring you achieve the best coverage possible for your specific needs.
Recommended Products

SUPERIOR VIDEO QUALITY - Experience crystal-clear 4K30p video with the Panasonic AW-UE40, ensuring every detail is captured with exceptional clarity and vibrant color accuracy for professional-grade productions.

Lightest, smallest full-frame EOS camera

Advanced 24.2MP BSI Full-frame Image Sensor w/ 1.8X readout speed Advanced 24.2MP Back-Illuminated 35mm Full-frame Image Sensor
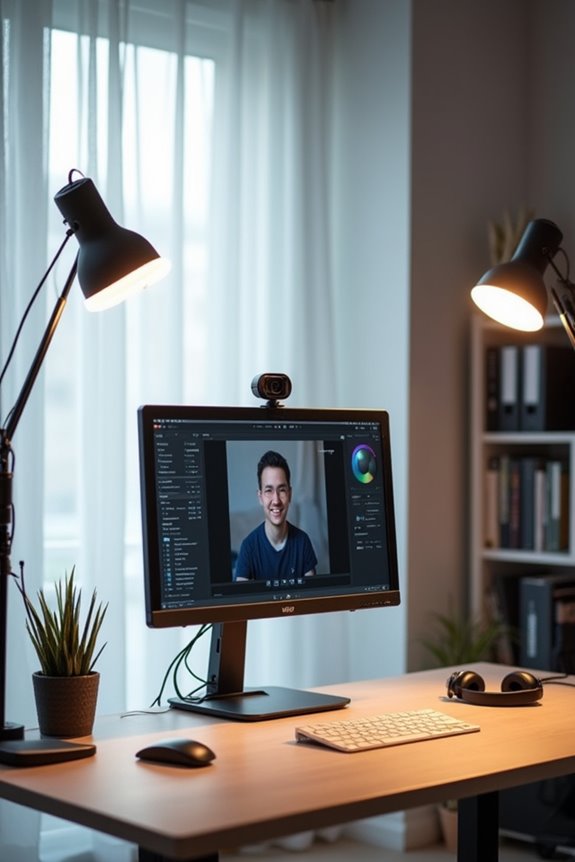
Lighting Considerations for Enhanced Video Quality
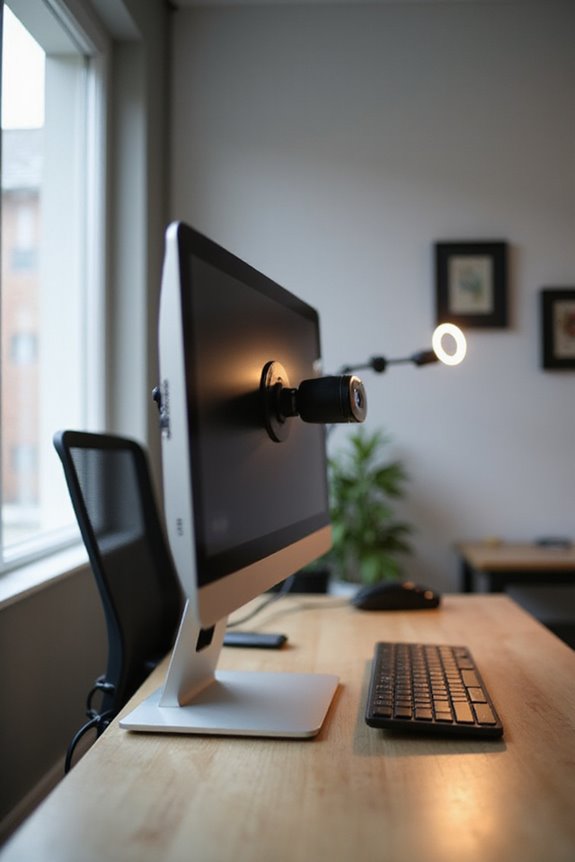
Positioning your webcam correctly is only part of the equation; lighting greatly influences the overall quality of your video. To achieve this, I recommend using soft light, which reduces harsh shadows and enhances facial features. Position your key light at a 45-degree angle to illuminate your face evenly, avoiding direct overhead lighting that can create unflattering shadows.
For ideal color temperature, daylight-balanced bulbs around 5000K are perfect, as they mimic natural light and provide accurate skin tones. It’s essential to maintain consistent lighting throughout your frame to prevent unnatural color shifts. Using diffusers or softboxes can further enhance light quality, ensuring a professional appearance. Remember to test your setup before recording for the best results.
Recommended Products

Godox SK400II Speedlite Monolight has a Large LED Display, Precise Output Displayed on LCD Panel, 40 Steps from 1/16-1/1. Auto Memory and Recovery of Adjusted Panel Settings

【Professional Studio Photography Light & Softbox Kit from Godox】Including Godox SL60II-D 75W LED Lights with Reflector kit *3, 24x36" softboxes *2, 37" Octagon softbox *1, 43" White Softbox & Reflector Umbrella kit *1, 110"light stands *3, Boom arm with Sandbag *1, Snoot *1, Barn door *1, Carry Bag *1, the photography light kit is perfect for home/studio video recording, live streaming, makeup, portrait and product photography, fashion photo taking, children's photo shooting, wedding shooting, etc.

【3x250W studio flash kit】 Godox E250 3-light strobe flash kit features 75W modeling lamp (9 levels brightness) and 250W flash. Flash output is adjustable stepless power from 1/9 to full, GN 58, recycle time: 0.3-2s, duration: 1/2000-1/800s. Satisfys the light requirements in different environment. Built-in cooling fan ensures longer lifetime.
Creating a Professional Background Setup
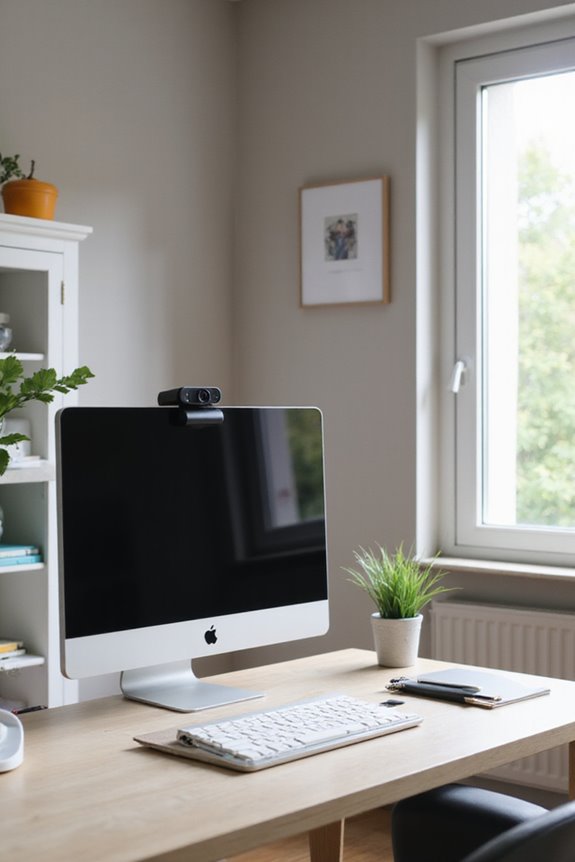
Creating a professional background setup is essential for making a positive impression during video calls. First, choose a background color that’s neutral, such as soft blues, grays, or whites, to minimize distractions. Bright colors can strain the eyes and draw attention away from you.
Next, consider decor elements that reflect your brand, like a subtle company logo or minimalistic artwork. Make sure these elements are tidy and not overwhelming. If you opt for a virtual background, using a green screen can enhance clarity and keep the focus on you. Finally, keep your backdrop clutter-free to maintain professionalism and reinforce your message during the call. Regularly check your setup for consistency and effectiveness.
Frequently Asked Questions
What Type of Webcam Is Best for Video Calls?
When I joined my first remote team, I opted for the Logitech MX Brio 4K. Its impressive webcam resolution and smart camera features really enhanced my video call experience, making every meeting feel more professional and engaging.
How Can I Reduce Glare on My Webcam?
To reduce glare on my webcam, I always clean the lens regularly and consider using an anti-glare screen. These simple adjustments really help improve the clarity and quality of my video calls.
Should I Use External Lighting Sources?
Absolutely, I’d recommend using external lighting sources. It really enhances my video quality. By experimenting with different lighting techniques, I achieve ideal brightness, making my appearance more vibrant and engaging during virtual meetings.
How Often Should I Adjust My Webcam Position?
I swear, if you don’t make regular webcam adjustments, you might as well be broadcasting from a potato! For ideal angles, I check my position frequently, especially with lighting changes or new tasks. Trust me!
Can Webcam Filters Improve Video Quality?
Absolutely, webcam filters can greatly enhance video quality. I’ve found that using filter effects, like LUTs, really brings out colors and sharpness, making my streams look more professional. Webcam enhancements truly make a difference!