As an Amazon Associate, we earn from qualifying purchases. Some links may be affiliate links at no extra cost to you. Although our opinions are based on curated research, we haven't used these products. Articles generated with AI.

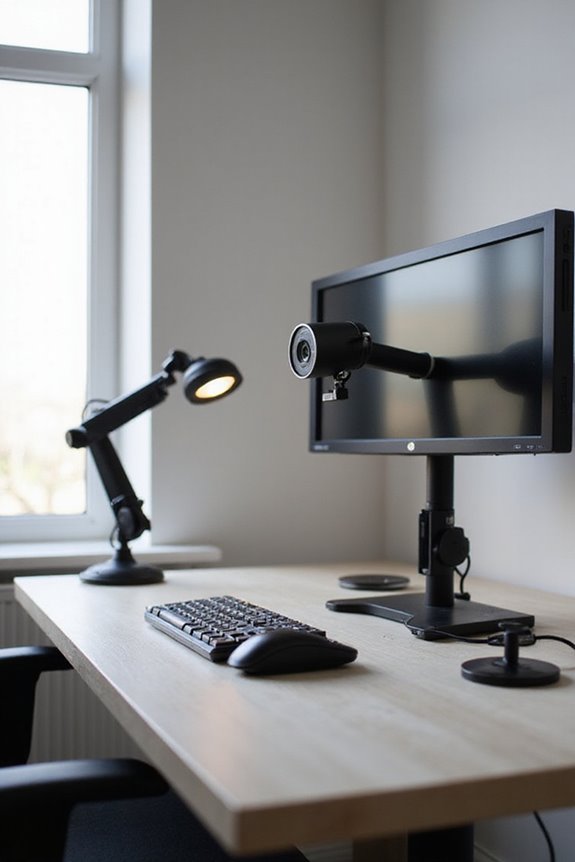
How Do I Position My Webcam For The Best Angle?

To position your webcam for the best angle, I recommend setting it at eye level, which simulates natural eye contact. Make sure it’s about an arm’s length away for clarity. Use soft, evenly distributed lighting to enhance video quality, positioning it at a 45-degree angle. Consider the field of view to focus on faces or capture group settings. Finally, create a tidy, neutral background for professionalism. There’s much more to explore for optimizing your setup.
Key Takeaways
- Position the webcam at eye level to simulate natural eye contact and enhance engagement during video calls.
- Maintain a distance of about an arm’s length for clear framing and optimal visibility of your face.
- Adjust the camera angle slightly downward for a flattering perspective while avoiding extreme low or high placements.
- Consider the field of view; use a wider angle for group settings and a narrower angle for one-on-one calls to focus on expressions.
- Ensure proper lighting by positioning a key light at a 45-degree angle to reduce shadows and improve overall video quality.
Eye-Level Positioning for Natural Angles
You may be interested
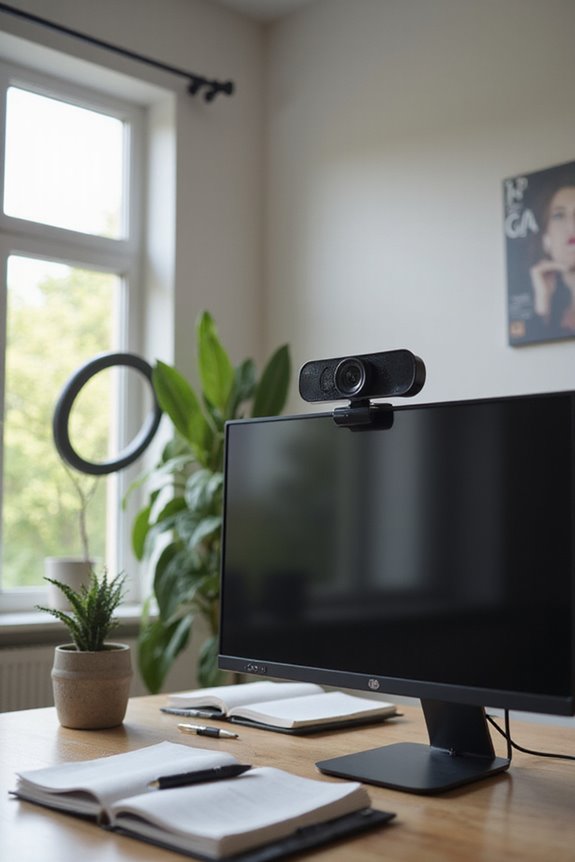
Achieving the right webcam angle is essential for creating a professional and engaging video presence. Eye-level positioning is key to simulating natural eye contact, which fosters viewer engagement. When I align my webcam at eye level, I notice a significant improvement in how my audience connects with me.
To achieve this, I often use a tripod or stack books to elevate my webcam to the correct height. I make angle adjustments by tilting the camera slightly downward, ensuring a flattering perspective without distortion. It’s vital to avoid common mistakes, like positioning the webcam too low or high, which can distract viewers. By following these techniques, I create a more inviting atmosphere that encourages my audience to focus on my message. Additionally, maintaining audio clarity and performance can enhance the overall quality of your presentations, making your content even more engaging.
Recommended Products

Compatibility and Stability Note: This webcam stand suit only for webcams with standard 1/4" screw hole. For Logitech BRIO/MX BRIO webcams, detach the included computer mounting clip/magnetic mount to access the standard 1/4” screw hold located at the base, enabling compatibility with InnoGear webcam stand mount. For maximum stability and load capacity, please install without the gooseneck or bend the gooseneck into a straight form to make the center of gravity centered.

【Flexible Adjust Height and All-Angle】The most innovative design of webcam stand is that bottom bracket rod can be flexibly adjusted 360-degree rotation and each rod can be 180-degree bending to any angle and position you need. Max Height 21.7 inches. It can achieve over 15.7" of horizontal reach and 360° rotation; 21.7" of vertical adjustment and 180° rotation. You can also show more of your DIY creativity!

【Anti Twist & Stable Grip】 The overhead camera mount has an anti twist pin on each mounting interface, to firmly connect the overhead phone mount with the super clamp and the mounted device. Even the super clamp is outfitted with non slip pads, protecting your device from scratches and preventing unwanted wobbling during shooting sessions
Ensuring Proper Distance for Clear Framing
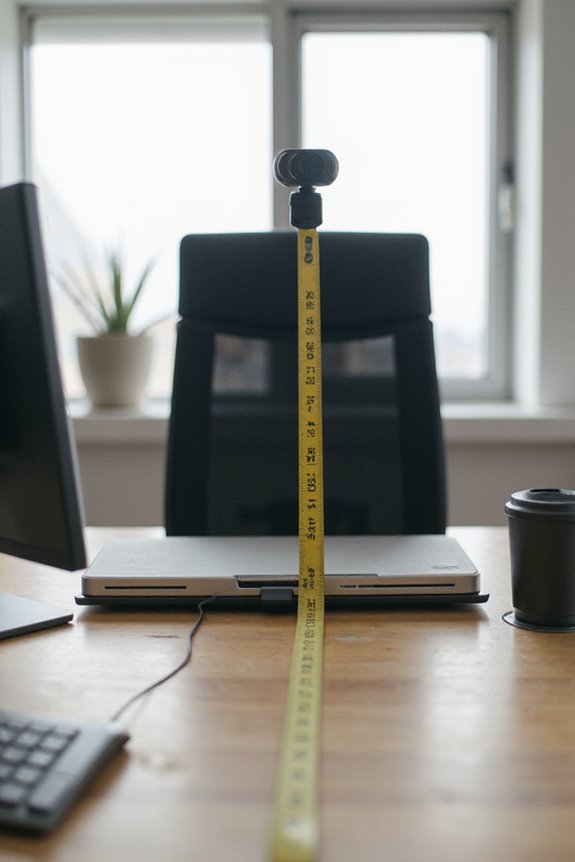
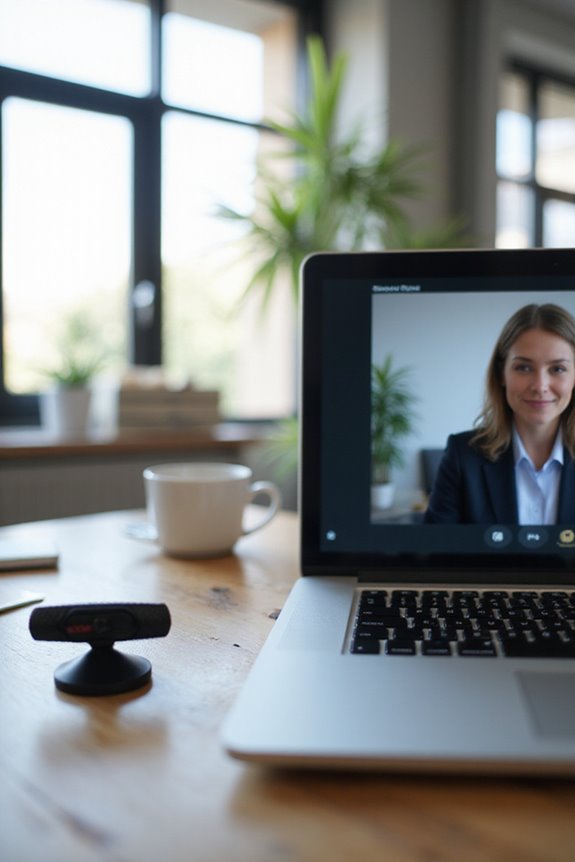
How far should your webcam be positioned for the best video quality? For ideal framing, I recommend keeping your webcam about an arm’s length away. This distance management helps guarantee I capture myself clearly without distortion. In smaller rooms, aim for 4-6 feet, while larger rooms require 8-12 feet to maintain a balanced view. It is vital to use effective framing techniques to avoid unflattering angles. Additionally, consider your camera’s position in relation to light sources to prevent glare. Finally, testing your setup is important; this way, I can confirm that the framing remains consistent, providing a professional appearance during video calls. Always adjust as needed for different activities to achieve the best results.
Recommended Products
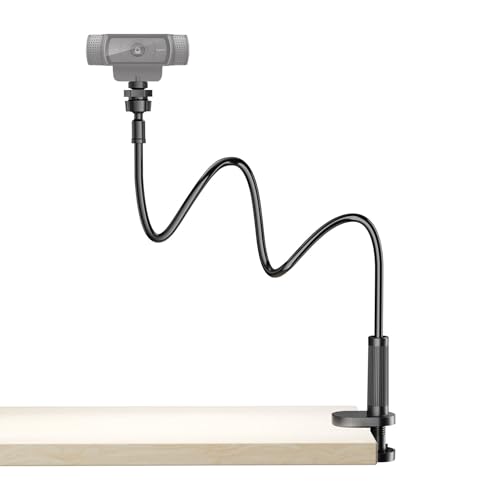
【Flexible Arm for Any Height/Angle】 Reach the ideal eye-level shot for TikTok video recording, YouTube Live streaming, or Instagram content creation. The extra-long, flexible gooseneck arm bends and holds securely, allowing you to easily adjust your camera's height and position over your monitor or desk for a more flattering and professional viewpoint.

[MULTIFUNCTIONAL COMBINATION] - K&F CONCEPT 9.8 Inch magic arm clamp kit can be used with a variety of camera accessories. It meets diverse creative needs across multiple angles, enabling exploration of varied shooting perspectives.

Monitor Light Webcam Stand: Especially for ScreenBar Halo usage. Suitable for BENQ, Quntis, Xiaomi and other monitor lamps.
Understanding Field of View for Optimal Coverage
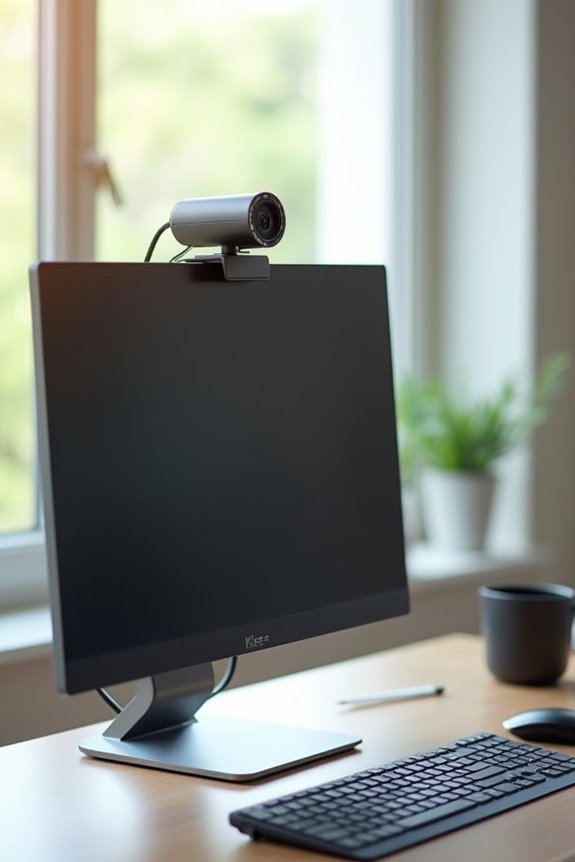
When setting up your webcam, it’s crucial to take into account the field of view (FOV) to guarantee you’re capturing the desired coverage in your frame. The FOV can greatly affect how well your video conveys the intended message, depending on the coverage types needed. For group meetings, a wider FOV of around 120° is ideal to include multiple participants. Conversely, for one-on-one calls, a narrower angle of 75°-90° focuses more on facial expressions. Remember that both horizontal and vertical field angles matter, especially when capturing scenes above or below the camera. Adjusting your webcam’s mounting position can help optimize these angles, ensuring you achieve the best coverage possible for your specific needs.
Recommended Products

【Upgrade Thick Clamping Base】We have upgraded the clamp base. It is thicker and more durable. The clamping base is easy to be secured in place without the need to go overboard. Please place one hand over the clamp mount to move the goose-neck arm around.

[Multi-Functional Combination] - The K&F CONCEPT 9.8-inch Magic Arm is compatible with a wide range of camera accessories. Whether shooting from high or low angles, it meets diverse creative demands and explores varied shooting perspectives.

Stouchi continuity camera mount is made of light and hard aluminum alloy. Compatible with iMac and most external displays/monitors (iMac/desktop from 2017 and above with OS Ventura installed), Apple TV 4K/most TVs (the latest version of tvOS).
Lighting Considerations for Enhanced Video Quality
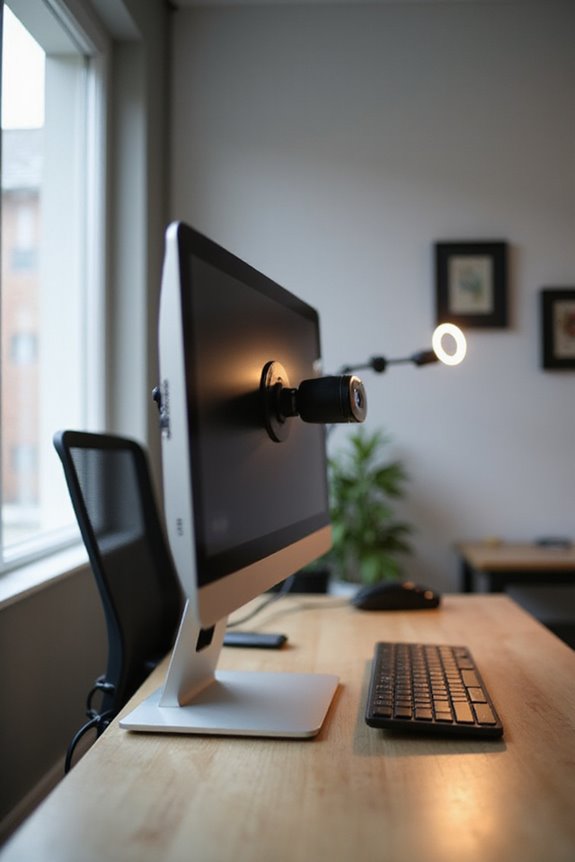
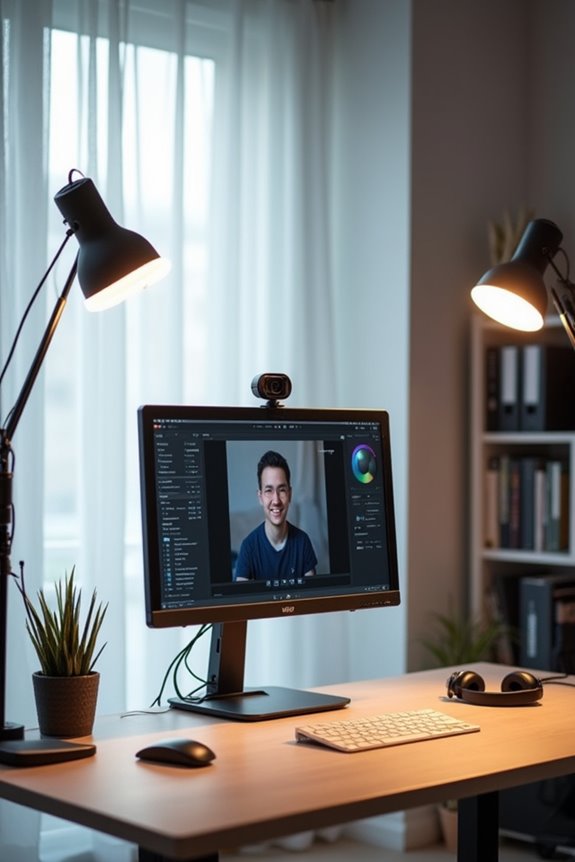
Positioning your webcam correctly is only part of the equation; lighting greatly influences the overall quality of your video. To achieve this, I recommend using soft light, which reduces harsh shadows and enhances facial features. Position your key light at a 45-degree angle to illuminate your face evenly, avoiding direct overhead lighting that can create unflattering shadows.
For ideal color temperature, daylight-balanced bulbs around 5000K are perfect, as they mimic natural light and provide accurate skin tones. It’s essential to maintain consistent lighting throughout your frame to prevent unnatural color shifts. Using diffusers or softboxes can further enhance light quality, ensuring a professional appearance. Remember to test your setup before recording for the best results.
Recommended Products
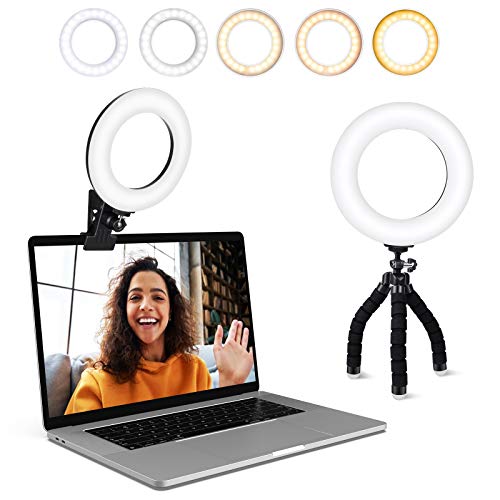
Adjustable Color Temperature & Brightness: ACMEZING video conference light has 5 color temperature: Warm warm, Warm white, Natural white, Daylight, Cold white, adjustable range is 3200K to 6500K. Equipped with 64 10W brightness lamp beads and 5 level brightness adjustment. This webcam light can meet your different lighting need under various occasions to help you look your best.

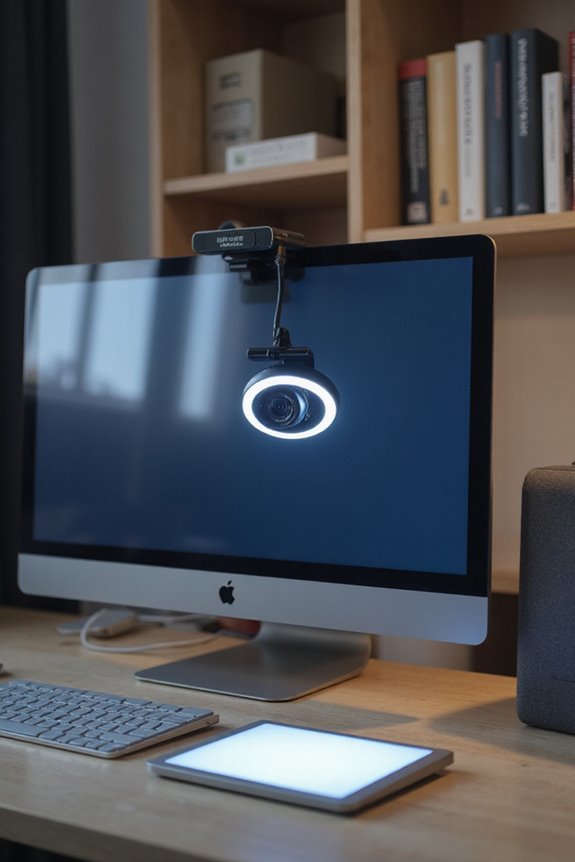
New Adjustable Multifunctional Stand : 2025new upgraded ring light, using a new design concept. Perfectly circumvent the traditional clip-on ring light poor fixity and screen unfriendly problems. With a stretchable horizontal plate, 2-2.5 inches, it can perfectly match notebook & desktop computers and securely fix on straight or curved screens, and the main body of the stand adopts an adjustable design, 6.5-8.5inch, providing solutions for a wider range of usage scenarios
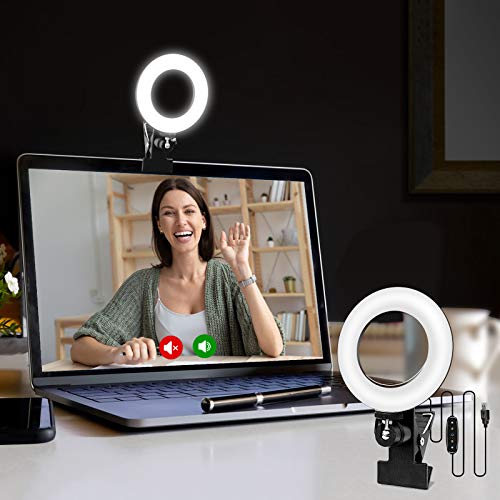
【ADJUSTABLE TEMPERATURE AND BRIGHTNESS】Our video conference lights have 3 color temperatures (white light/warm light/natural light) which are 3200k-6800k, 5 levels of brightness adjustment, and 48 LED lamp beads with 10W brightness. Easily change your ideal lighting with the switch, to make your skin more perfect and more suitable your environment.
Creating a Professional Background Setup
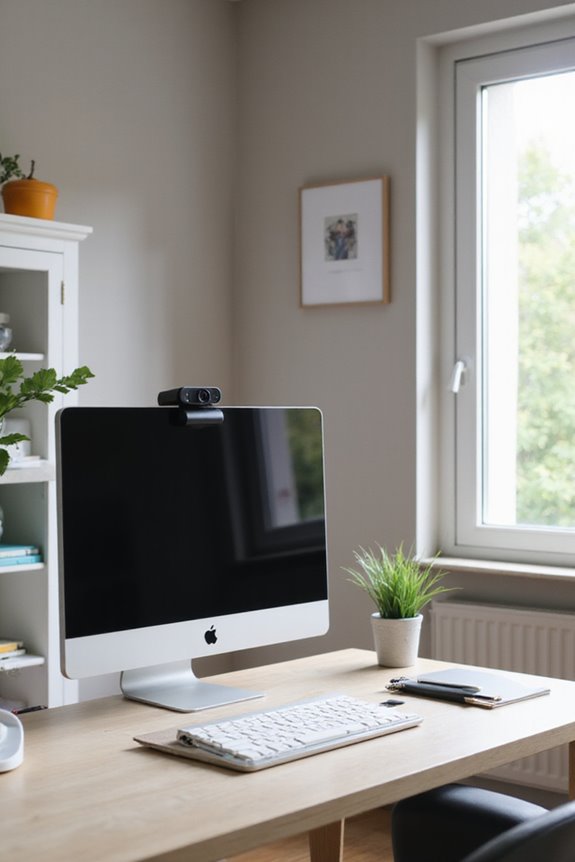
Creating a professional background setup is essential for making a positive impression during video calls. First, choose a background color that’s neutral, such as soft blues, grays, or whites, to minimize distractions. Bright colors can strain the eyes and draw attention away from you.
Next, consider decor elements that reflect your brand, like a subtle company logo or minimalistic artwork. Make sure these elements are tidy and not overwhelming. If you opt for a virtual background, using a green screen can enhance clarity and keep the focus on you. Finally, keep your backdrop clutter-free to maintain professionalism and reinforce your message during the call. Regularly check your setup for consistency and effectiveness.
Recommended Products

【Ultra Quick Set Up】Latches and hydraulic tub has been improved, green screen build a studio in a few seconds, truly immersive broadcasting
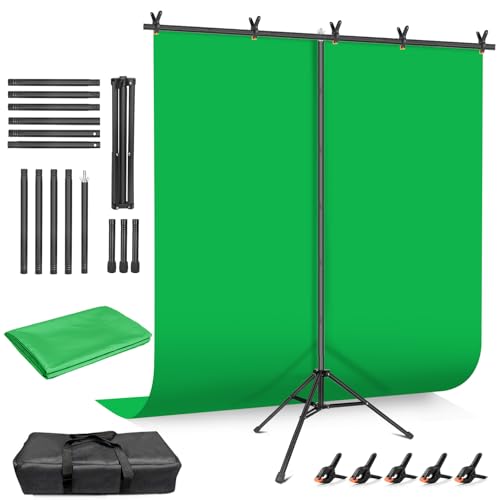
Wider and Higher Green Screen Stand Kit: The tripod has 5 support side rods for creating five different heights from 3.1ft to 8ft, and 3 different width options, up to 7.5ft - perfect for wide-angle lenses, suitable for zoom meetings or video production

Reverse Folding Stand: Highly portable, comes with a carry bag for easy transport. Larger unfolding area, better stability and compact storage than conventional stands. Quick intuitive setup saves time, rock-solid stability for worry-free use
Frequently Asked Questions
What Type of Webcam Is Best for Video Calls?
When I joined my first remote team, I opted for the Logitech MX Brio 4K. Its impressive webcam resolution and smart camera features really enhanced my video call experience, making every meeting feel more professional and engaging.
How Can I Reduce Glare on My Webcam?
To reduce glare on my webcam, I always clean the lens regularly and consider using an anti-glare screen. These simple adjustments really help improve the clarity and quality of my video calls.
Should I Use External Lighting Sources?
Absolutely, I’d recommend using external lighting sources. It really enhances my video quality. By experimenting with different lighting techniques, I achieve ideal brightness, making my appearance more vibrant and engaging during virtual meetings.
How Often Should I Adjust My Webcam Position?
I swear, if you don’t make regular webcam adjustments, you might as well be broadcasting from a potato! For ideal angles, I check my position frequently, especially with lighting changes or new tasks. Trust me!
Can Webcam Filters Improve Video Quality?
Absolutely, webcam filters can greatly enhance video quality. I’ve found that using filter effects, like LUTs, really brings out colors and sharpness, making my streams look more professional. Webcam enhancements truly make a difference!
{
“@context”: “https://schema.org”,
“@type”: “FAQPage”,
“mainEntity”: [
{
“@type”: “Question”,
“name”: “What Type of Webcam Is Best for Video Calls?”,
“acceptedAnswer”: {
“@type”: “Answer”,
“text”: “When I joined my first remote team, I opted for the Logitech MX Brio 4K. Its impressive webcam resolution and smart camera features really enhanced my video call experience, making every meeting feel more professional and engaging.”
}
},
{
“@type”: “Question”,
“name”: “How Can I Reduce Glare on My Webcam?”,
“acceptedAnswer”: {
“@type”: “Answer”,
“text”: “To reduce glare on my webcam, I always clean the lens regularly and consider using an anti-glare screen. These simple adjustments really help improve the clarity and quality of my video calls.”
}
},
{
“@type”: “Question”,
“name”: “Should I Use External Lighting Sources?”,
“acceptedAnswer”: {
“@type”: “Answer”,
“text”: “Absolutely, I’d recommend using external lighting sources. It really enhances my video quality. By experimenting with different lighting techniques, I achieve ideal brightness, making my appearance more vibrant and engaging during virtual meetings.”
}
},
{
“@type”: “Question”,
“name”: “How Often Should I Adjust My Webcam Position?”,
“acceptedAnswer”: {
“@type”: “Answer”,
“text”: “I swear, if you don’t make regular webcam adjustments, you might as well be broadcasting from a potato! For ideal angles, I check my position frequently, especially with lighting changes or new tasks. Trust me!”
}
},
{
“@type”: “Question”,
“name”: “Can Webcam Filters Improve Video Quality?”,
“acceptedAnswer”: {
“@type”: “Answer”,
“text”: “Absolutely, webcam filters can greatly enhance video quality. I’ve found that using filter effects, like LUTs, really brings out colors and sharpness, making my streams look more professional. Webcam enhancements truly make a difference!”
}
}
]
}